How to Tell If Your Last Gutter Installation Was Done Right
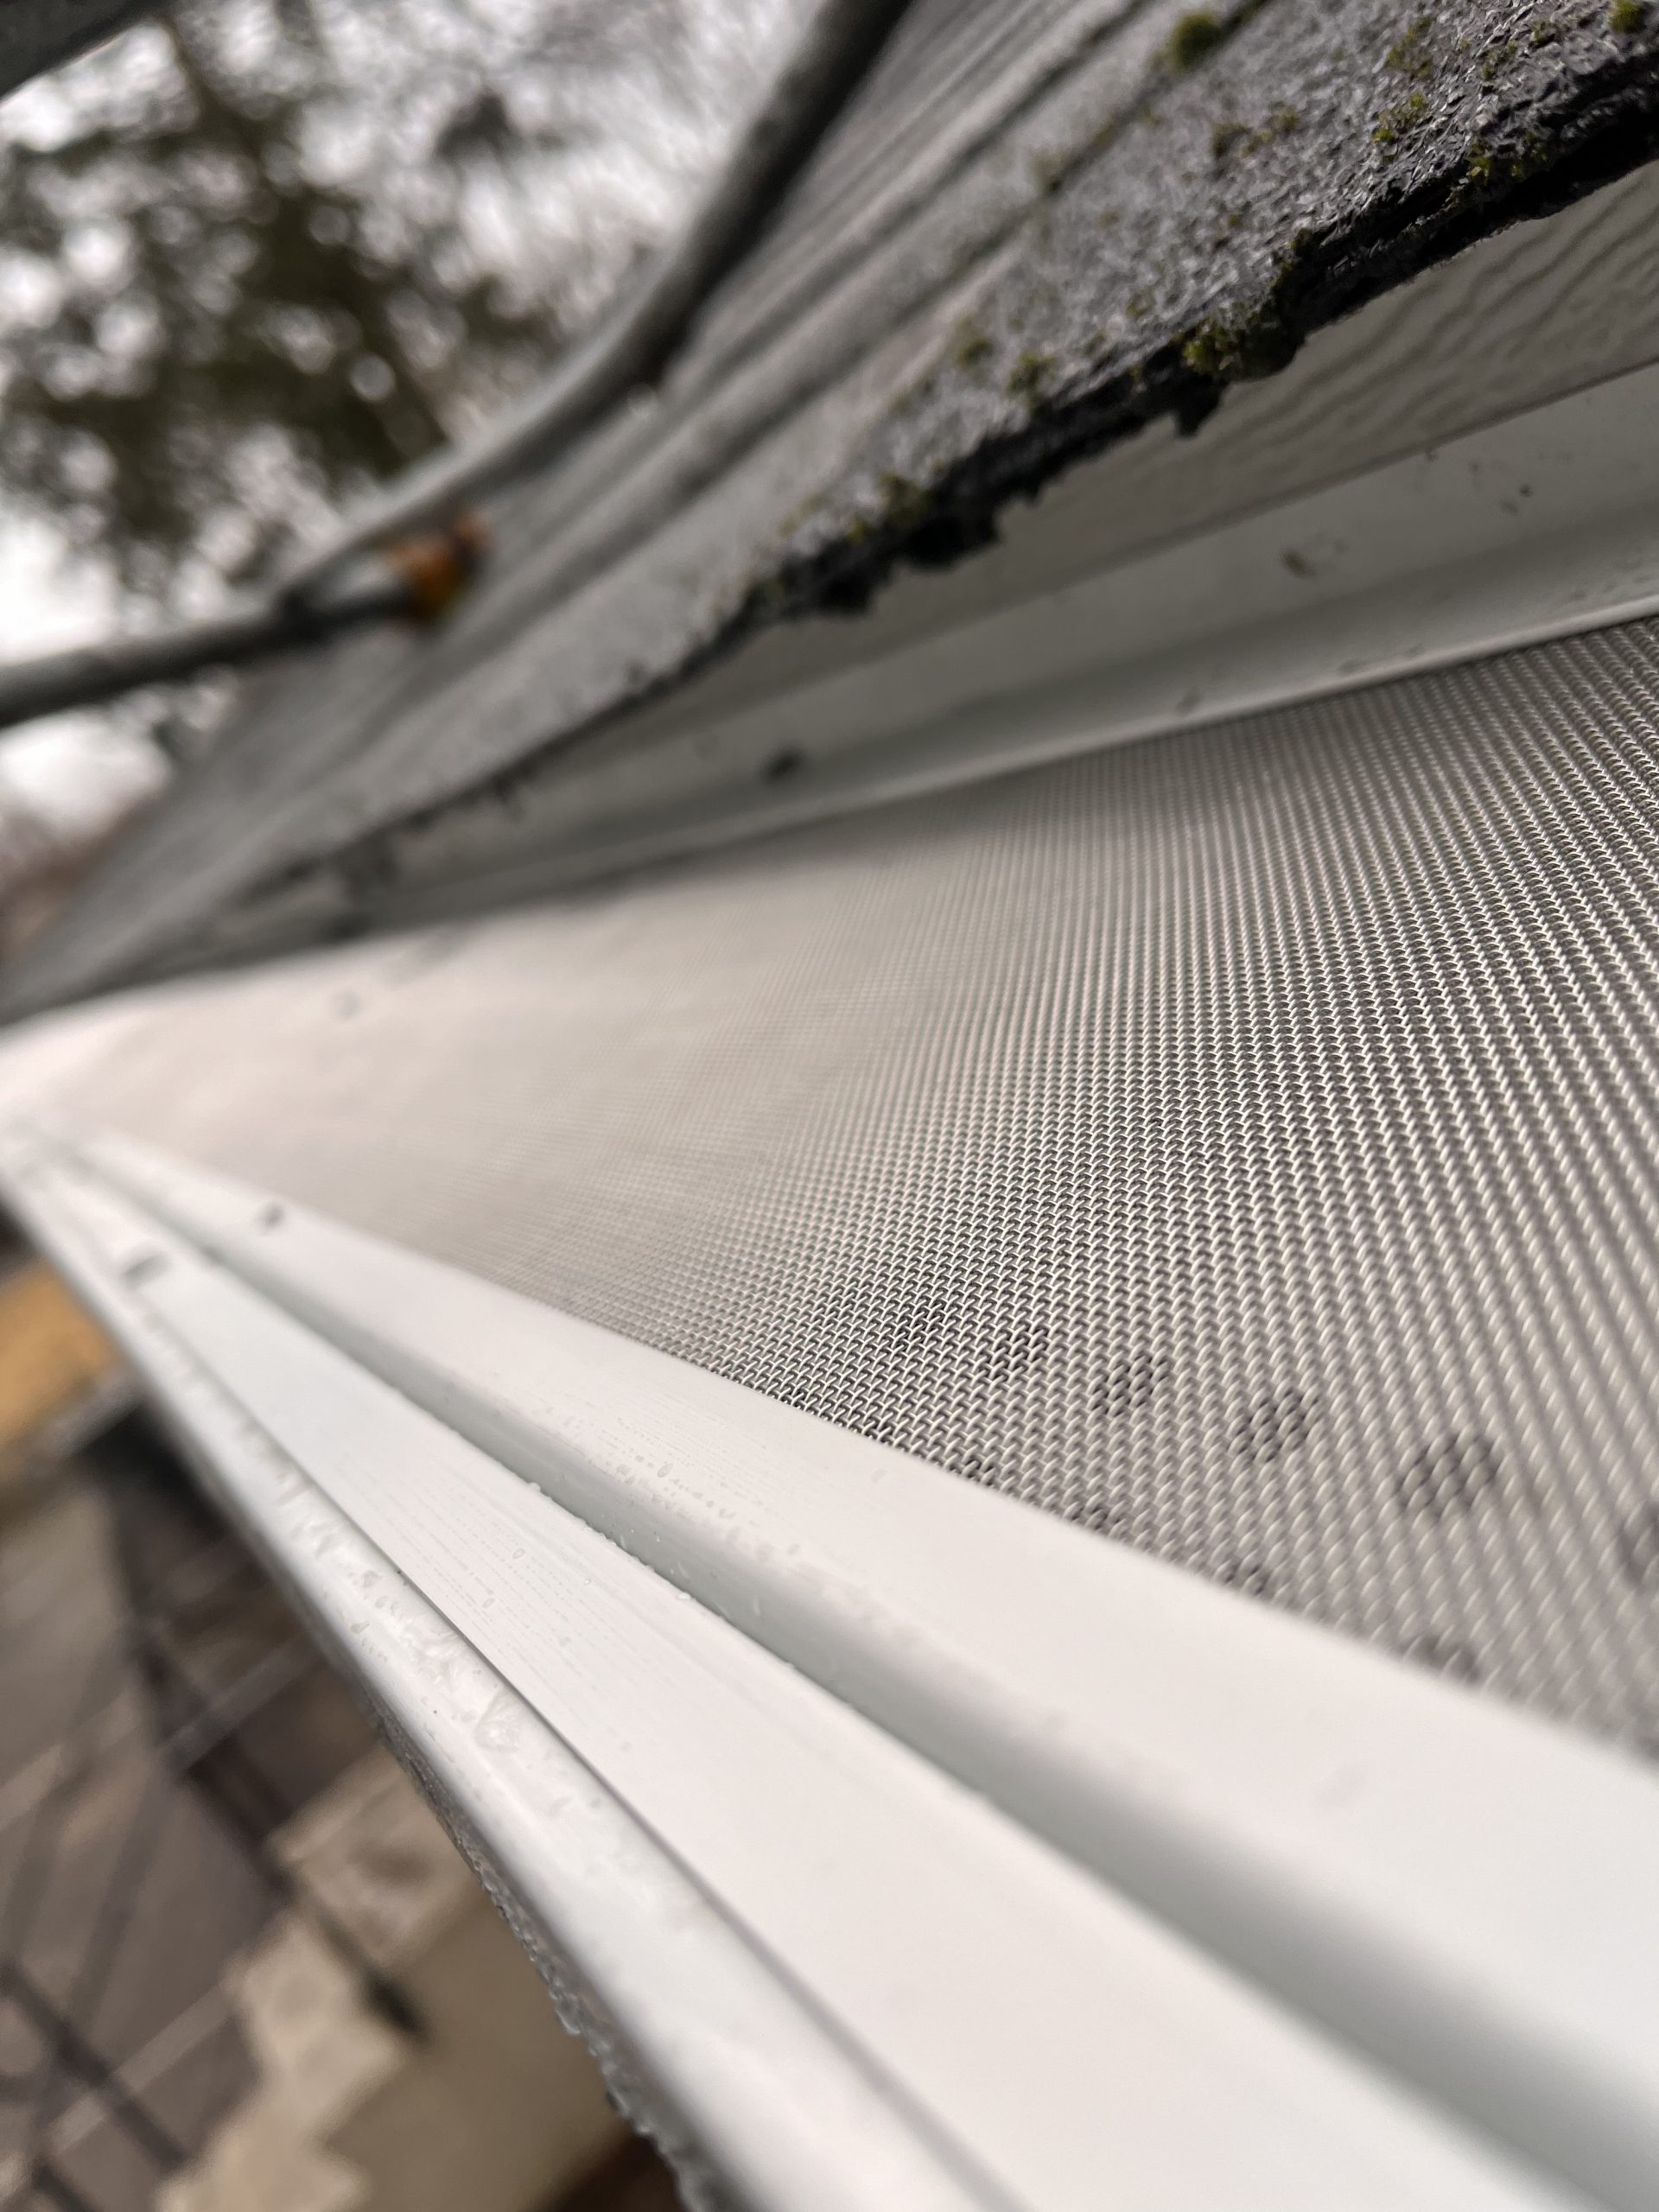
A new gutter system can look perfectly fine from the driveway and still fail where it matters most. I have seen homes with brand-new gutters that leaked at the corners, overflowed in light rain, or pulled away from the fascia within a year. I have also seen older systems, installed with care, keep working quietly for decades. That is the difference between gutters that were merely attached to a house and gutters that were properly installed to manage water.
If you recently paid for gutter installation, or bought a home with newer gutters already in place, it is worth knowing what good work actually looks like. Most homeowners do not spend much time staring at downspout placement or hanger spacing, and that is understandable. Still, a few practical checks can tell you a lot about whether the installer did the job right or simply did enough for it to pass a casual glance.
Good gutters protect the roof edge, fascia, soffits, siding, foundation, basement, landscaping, and hardscaping. Bad gutters do the opposite while creating the illusion that everything is under control. The trick is learning where to look.
Start with what happens during rain
The easiest time to judge a gutter system is during or right after a steady rain. Not a dramatic storm, just a real working rain that sends a consistent flow off the roof. You want to see how the system behaves under normal conditions.
A properly installed gutter should collect roof runoff smoothly, move it toward the downspouts, and discharge it away from the home without spilling over the front edge. Water should not shoot past the gutter, dribble from seams, or pour over one section while the rest stays half empty. If it does, something is off. It could be the pitch, the capacity, the outlet placement, the roof valley concentration, or even an installation height problem.
One common mistake is setting the gutter too high under the drip edge or too far behind the roof edge. Another is setting it too low so fast-moving water overshoots it. Both can happen on the same house if the crew rushed, worked from inconsistent reference points, or tried to compensate for a crooked fascia without thinking through the water path.
Stand back and watch. Water should enter the gutter cleanly. If you see a curtain of runoff dropping behind the gutter, the back edge may not be tucked correctly under the drip edge, or the drip edge itself may be too short. If water sheets over the front during moderate rain, the slope may be wrong, the outlet may be undersized, or the system may simply be too small for the roof area it serves.
Slope matters more than most homeowners realize
A gutter should not be level, even if it appears that way from the ground. It needs a slight pitch toward the downspout so water drains instead of sitting in the trough. The slope is subtle enough that a well-installed run usually looks straight, not noticeably slanted. That is part of the craft.
Too little pitch and water ponds. Too much pitch and the gutter line looks visibly off, especially along the fascia. Both are signs of weak workmanship.
You can often spot poor slope without tools. After a rain, check whether water remains standing in sections long after the roof has dried. A little residual moisture is normal. A channel of standing water an hour later is not. If you have a long gutter run and puddling collects in the middle, that often points to inadequate pitch, poor hanger support, or a fascia line that was never properly accounted for during installation.
On many homes, a good installer aims for a modest drop over the run, often around a quarter inch for every ten feet, though the exact approach depends on gutter profile, run length, outlet location, and roof conditions. What matters is performance, not memorizing a single number. The system should drain fully and still look clean from the front.
Hangers tell you whether the installer cared about longevity
If I want a quick read on the quality of a gutter installation, I look at the hangers and fasteners. They reveal a lot. You can have high-end materials and still get a poor result if the support system is weak.
Modern gutters are usually secured with hidden hangers rather than old spike-and-ferrule systems. Hidden hangers tend to provide better support and a cleaner appearance, especially on seamless aluminum installations. What matters is not just the hanger type but the spacing and what those hangers are fastened into.
If the hangers are spaced too far apart, the gutter can sag under water, ice, or leaf load. If fasteners are driven into soft or rotted fascia, the installation may look fine at first and begin loosening after a season or two. If screws are overdriven or misaligned, they may hold briefly but compromise the material.
On many residential installations, hanger spacing around 24 inches on center is common, though tighter spacing may be wise in snowy climates or at heavy-flow areas like valleys. You should also see extra support near corners, outlets, and end caps, where stress tends to concentrate. A crew that skipped those details probably skipped others.
From the ground, sagging often shows up as a wavy front edge. Up close, you may notice sections that flex when touched or visible gaps between the gutter and fascia. Neither is a good sign.
Seams, corners, and end caps are where sloppy work shows first
Even a decent-looking gutter system can fail at the joints. This is especially true on sectional systems, but seamless gutter installation still includes seams at corners, outlets, and end caps. Those are the points most likely to leak if they were assembled carelessly.
A proper seal at a corner should look neat and intentional, not overloaded with smeared caulk. Too much visible sealant is often a clue that the installer relied on goo to hide poor fit rather than creating a clean mechanical connection first. Sealant has a role, but it is not supposed to rescue every bad cut and misalignment.
The same goes for end caps. A well-installed end cap should sit flush, show no distortion in the metal, and stay dry except for surface rainwater. If you notice brown streaks, recurring dampness, or a slow drip after every storm, the cap may not have been crimped or sealed correctly.
Outlets deserve attention too. When the hole cut for a downspout outlet is too small, water can bottleneck and overflow. When it is cut too crudely, with jagged edges or poor shaping, debris catches more easily and drainage suffers. Small details like this make a measurable difference over time.
Downspouts should solve a drainage problem, not create a new one
A lot of gutter complaints are really downspout problems. The trough might be fine, but if water is dumped at the base of the house, next to a walkway, or into a low spot that stays saturated, the system is still failing its job.
Look at where the downspouts terminate. Water should be directed away from the foundation in a controlled way. That might mean splash blocks, extensions, buried drain lines, or tie-ins to a drainage system, depending on the site. What matters is the outcome. You do not want discharge soaking the soil against the house or emptying onto a path where it creates ice in winter.
Placement matters too. Long gutter runs need enough downspouts to handle the roof area feeding them. On simple homes, that is straightforward. On more complex roofs with dormers, valleys, and concentrated runoff, poor downspout placement becomes obvious fast. One section overflows while another carries almost nothing. That imbalance is not always a maintenance issue. Sometimes it is a design mistake from the original installation.
If your home has a spot where water always seems to dump hard in one corner, ask whether the gutter system was sized and laid out for the roof geometry, not just copied from a standard plan.
The fascia and roof edge should look protected, not exposed
A properly installed gutter system should work with the roof edge, not fight it. The relationship between the shingles, drip edge, fascia, and gutter back matters more than many people realize.
When gutters are installed correctly, water coming off the roof should enter the channel and stay off the fascia board. If you see peeling paint, dark https://maps.app.goo.gl/VYbnNaG41GNeopNq7 streaks, soft wood, or mildew on the fascia behind a relatively new gutter, that is a warning sign. It may indicate that water is running behind the gutter because of poor placement, missing apron flashing, improper drip edge overlap, or a warped fascia that was ignored instead of corrected.
This is common on replacement jobs where the old gutters came off and the new ones went right back onto damaged wood. A reputable installer should notice fascia rot and address it, or at minimum document it and recommend repair before hanging the new system. Installing over failing substrate is a short-term fix dressed up as finished work.
Take a close look where the roof meets the gutter. The line should feel integrated. Not forced. Not patched. Not dependent on sealant to make up for gaps.
Appearance is not everything, but it still counts
A good gutter installation should perform well and look deliberate. Crooked runs, dented sections, oil-canning, mismatched colors, twisted downspouts, or elbows bent at awkward angles suggest a rushed job. None of those issues automatically means the system will fail, but together they often tell a story about the care that went into the work.
Seamless gutters, especially aluminum K-style systems, should have a clean, continuous appearance. Miters at corners should line up well. Downspouts should run plumb against the wall. Straps or brackets should be neat and secure. Cut ends should not look ragged. Fasteners should not appear random.
I once looked at a two-story installation where the gutters themselves were decent, but the downspouts jogged back and forth across the siding because the crew had not planned around hose bibs and trim. The homeowner assumed that was normal. It was not. It was an avoidable sign of poor layout. A thoughtful installer maps the path before cutting metal.
Leaf guards do not excuse bad gutter work
Homeowners sometimes assume that if the system includes leaf protection, the installation must be premium. That is not always the case. Gutter guards can help reduce maintenance, but they do not fix incorrect slope, undersized gutters, poor support, or weak drainage design.
In fact, leaf guard systems can hide problems. A gutter may look tidy from above while holding water because the pitch is wrong. Or the guards may be fastened in a way that interferes with roof runoff during heavy rain. Some products work well in certain conditions and poorly in others, especially where pine needles, seed pods, or fine debris are common.
If your installer sold you on guards, judge the system by performance, not by the accessory. During rain, the water still needs to enter the gutter, travel efficiently, and leave through the downspouts. If it does not, the presence of guards changes nothing.
A few practical checks you can do yourself
You do not need to climb onto the roof to make a useful assessment. A basic inspection from the ground and a step ladder, if you are comfortable using one safely, can reveal most of the big issues.
Here are a few things worth checking:
- Watch the gutters during steady rain and note any overflow, dripping seams, or water running behind the system.
- Check for standing water after the rain stops, especially in the middle of long runs.
- Look for sagging, wavy front edges, loose brackets, or gutters pulling away from the fascia.
- Inspect downspout discharge points and see whether water ends up near the foundation.
- Scan fascia, soffits, and siding for fresh water stains, peeling paint, or damp streaks.
That short walkthrough catches more problems than many homeowners expect. If the system passes all five, there is a good chance the installation was competently done.
Climate changes what “done right” looks like
Not every good installation looks the same. Local weather shapes the details. In heavy snow regions, support spacing and ice load resistance matter more. In areas with intense cloudbursts, oversized gutters and larger downspouts can be worth the added cost. Under dense tree cover, gutter design needs to account for debris patterns. Along the coast, corrosion resistance becomes a larger part of the conversation.
This is one reason the cheapest bid often falls apart under scrutiny. Some installers price a generic system because it is faster and easier to sell. Better installers think in terms of roof area, pitch, valley flow, local rainfall intensity, fascia condition, and discharge location. Those variables affect whether the system will quietly work or create recurring service calls.
A half-round copper gutter on a historic home may be beautifully appropriate, but if its capacity does not match a large, steep roof section, looks alone will not save it. A basic 5-inch aluminum system may be perfectly adequate on one ranch house and undersized on a neighboring home with multiple roof valleys. Context matters.
Red flags that often show up in the first year
Some installation problems reveal themselves almost immediately. Others take a season or two. If your gutters are relatively new, keep an eye out for patterns that tend to indicate workmanship issues rather than routine wear.
The most common early warnings include these:
- Persistent leaks at corners or end caps.
- Overflow in moderate rain, not just during severe storms.
- Fasteners backing out or sections separating from the fascia.
- Soil erosion, mulch washout, or basement dampness near discharge points.
- Visible sagging or standing water within months of installation.
Any one of those deserves attention. Two or three together usually mean the system needs correction, not just minor maintenance.
When the problem is design, not installation technique
It is possible for the gutters to be installed neatly and still be wrong for the house. This distinction matters because the fix may require more than resealing a joint or adding a screw.
I have seen houses where the crew followed the existing layout exactly, even though the old layout was part of the reason the owners replaced the system in the first place. The installers attached everything straight, clean, and secure, but they reused too few downspouts, kept undersized troughs, and discharged water into the same problem areas. Technically tidy, practically ineffective.
That is why “done right” includes planning. The best gutter installation is not just clean craftsmanship. It is the correct system for the roof and site conditions. If water management was never rethought, a new system can inherit old failures.
What to ask if you suspect the job was not done well
If something feels off, do not start with accusations. Start with observations. Tell the installer what you saw during rain, where water was standing, or where the discharge is landing. Specifics get better results than general frustration.
Ask how the pitch was set, whether the hanger spacing matches local conditions, and whether the downspout count was designed for your roof area. If there are leaks at corners or end caps, ask whether the joint should be reworked rather than simply recoated with more sealant. If the fascia shows signs of moisture, ask whether water may be getting behind the gutter from the roof edge.
A competent contractor should be able to explain the reasoning behind the layout and should not become defensive when presented with concrete performance issues. Good installers know that even solid work sometimes needs adjustment. Poor installers tend to hide behind vague assurances that “all gutters do that.” They do not.
The standard is simple, even if the details are not
Homeowners do not need to become drainage engineers to judge whether a gutter installation was done right. The practical standard is straightforward. The system should catch water, move it, support its own load, and discharge away from the house without leaking, sagging, or soaking adjacent materials.
If it does those things consistently, and still looks straight and secure, the work was probably solid. If it struggles during ordinary rain, stains the fascia, loosens at the fasteners, or dumps water where it can damage the foundation, the installation missed the mark.
Good gutters are not flashy. Most of the time, the best ones are forgettable. They disappear into the house, handle weather quietly, and stay out of your thoughts year after year. That is usually the clearest sign that the last gutter installation was done right.
Just Gutters LLC
Address: 262 Main St, Hackettstown, NJ 07840
Phone number: +12013319454
FAQ About Gutter Installation Hackettstown
Can I install a gutter myself?
Yes, you can install gutters yourself. DIYers typically use aluminum or vinyl sections from home improvement stores. The project requires basic tools, precise measuring, and comfort working on ladders. Key steps include snapping a chalk line for a slight slope (1/4 inch per 10 feet toward downspouts), securing hangers every 2 feet, and caulking all joints securely.
How much does body contouring usually cost?
The Home Depot typically charges between $1,000 and $3,600 for a standard professional gutter installation on a typical single-family home with 200 linear feet of gutters. Calculated on a per-foot basis, the cost usually ranges from $5 to $18 per linear foot, highly dependent on the material you select.
How much does a 40 ft seamless gutter cost?
A 40 ft seamless gutter run will cost between $240 and $1,120+ fully installed, depending on the material you choose. Because seamless gutters require specialized on-site fabrication machines, they are rarely sold as DIY kits and are priced per linear foot.